
What is FAUScan?
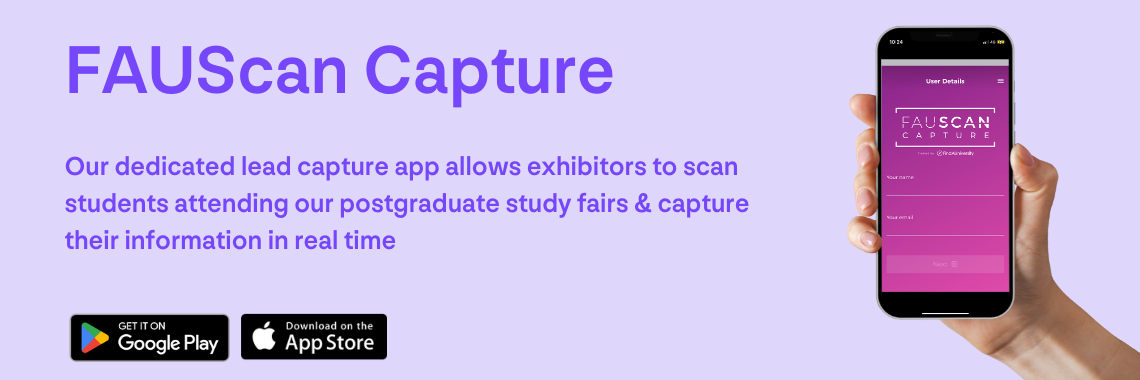
FAUScan is a data collection app that allows exhibitors at FindAUniversity study fairs to access the data of students who visit their stands.
How does it work?
After installing the app, you can use the camera on your Apple or Android device to obtain the data of prospective students by scanning the unique QR code on the badges of visitors you speak to. All scans are automatically synced with the FAUScan Cloud, and any information held by FindAUniversity about the lead (name, email, nationality, etc.) is downloaded and displayed within the app. After scanning a student badge you can also add comments / notes to a students’ data for effective post-event communications.
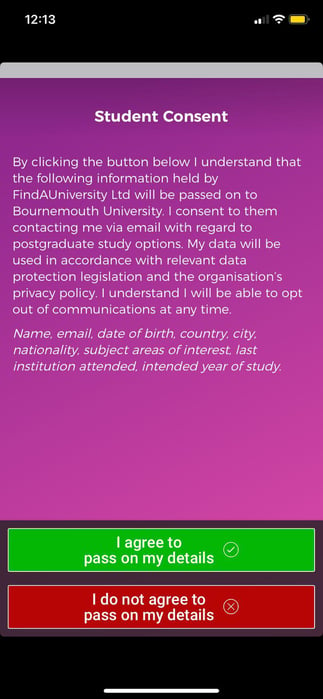
As part of our commitment to being GDPR compliant, when you scan a student badge, students are required to consent to FAU sharing their details for you to store and process. This can be given verbally so please click the consent button on behalf of the student once agreed.
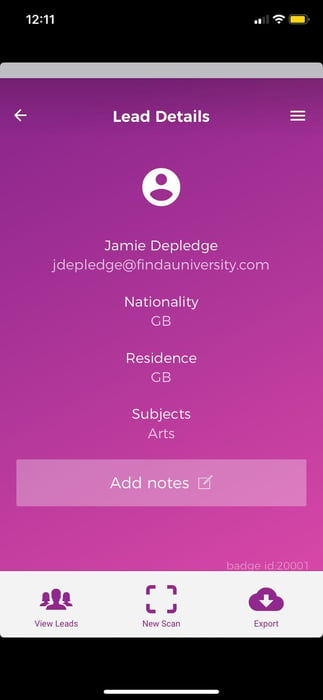
Once a student agrees to share their information, their details are automatically downloaded from the cloud. From this screen you can view the details of the student and add any notes to the student’s data.
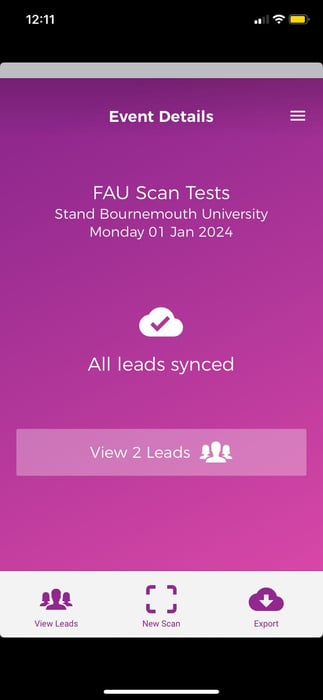
The app syncs with the cloud in the background whenever a connection is available. If your wifi signal is poor you can still use the app offline. If you are offline you will see a ‘details queued’ message. You have still received the students data and this will sync to the app once you are back online.
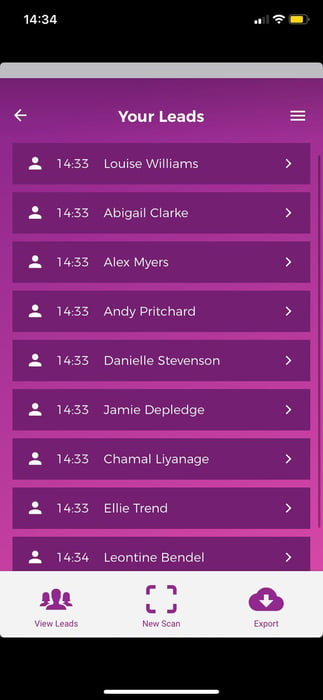
You can review your leads at any time, and send them to any email address directly from the app.
How do I use FAUScan?
- Download the ‘FAUScan Capture App’ from the Apple store or Google Play Store.
- Open the app and enter your name and email address.
Please note that your device will need to be connected to the internet to complete the set-up after this point.
- At this stage you will be prompted to scan your unique ‘Event Code’, this code was emailed to the lead booker for your institution. If you don’t have a copy of this QR code, don’t worry, there is one available on your stand. If you can’t find this, a member of the FindAUniversity events team will be able to help.
- You are now ready to start collecting student data. To begin scanning visitors, click into the event and use the ‘New Scan’ button to scan a student badge and capture their details.
TIP: Badges are best scanned from around 30cm away.
- Once you have captured a visitor’s information you can click ‘Add Notes’ if you have some specific information you would like to assign to that particular person.
If you scan a student and instead of seeing their data see ‘details delayed’, it is vital you ask this student to return to the registration desk. This indicates an issue with their badge and you will be unable to view their data if the problem is not resolved.
- Your leads can be revisited at any time via the ‘View Leads’ button at the bottom of your screen. You can also add additional notes to any leads from this screen, should you wish to.
- At any time you can choose to export your leads via the ‘Export’ button. You will receive a link to your email address which will allow you to download your leads. You can download your leads for 30 days after the events.
Frequently Asked Questions
What information will be included for each student?
For each student you will receive the following data - forename, surname, email address, country of residence, nationality, subject area/s of interest, subject level/s of interest, closest city and notes. If you are interested in any other information about the students you meet, we encourage you to utilise the notes section of the app to capture this information.
We sometimes have more than one representative at an event. Can we all use the app?
Yes you can. Each of your colleagues needs to download the app and scan the unique event code you received by email to add the event. The data you capture will sync to all devices registered for the event, meaning you can view student data and notes added by any of your colleagues at the event.
My app is showing student data as ‘details delayed’ or ‘details queued’, what should I do?
If any student data is showing in your app with ‘details delayed’ instead of the student’s personal information, this indicates there is a problem with their QR code. In this instance you must send the student back to the registration desk. Once at the registration desk we can rectify the problem, and their data will sync to your device instantly. If the student doesn’t return to the registration desk we will be unable to resolve the problem and the student’s data will not be accessible to you.
If you any student data is showing in your app with ‘details queued’ instead of the student’s personal information, this indicates there is a problem with your device’s internet connection. To resolve this problem, please re-connect your device to the venue’s internet. Once you are re-connected, and queued data will download automatically.
What devices can I use?
The app is currently available for iPhone iOS 8+ and Android 4.4+ devices. It is not available for Windows Phone.
How long will my leads be available after the event?
You will be able to export your leads from the app up until 30 days after the event. After this date you will be unable to access your data.
What happens if my device loses Wi-Fi?
If your connection drops you can continue using the app to scan as usual without losing any data. The app will save all the information locally and sync with the cloud as soon as a connection is restored.
Support
If you have any questions or problems using the app, please chat to anyone in an event staff t-shirt on the day, email us at eventsteam@findauniversity.com or give us a call on +44(0)114 268 4940.
Happy scanning!